How to Install the RTK station using an antenna mount
The RTK station antenna from Sunseeker is shipped with a pole which is intended to be installed on the ground or on the base of the charging station. While this set up may work for some consumers, it is not ideal for large installations where the antenna needs to be installed higher up for optimal view of the sky and for best coverage to the mower.
This guide provides a step by step guide to help you dismantle the antenna of the RTK station and set it up on a mount. If you are purchasing the mount from SmartDots, then you will receive all the necessary hardware to set it up. If not, you can use this guide as a reference to set it up on a mount of your choice.
Step 1: Unscrew all the connectors of the RTK station pole provided by Sunseeker. This should break down the pole into two parts.
Step 2: when you try to pull the wire of the antenna, it will not slide out until you remove it from the hook that hold it in place. You can simply snap this hook or use a screw driver or something similar to fish this wire out of the hook. Once this is done the wire will be free to be pulled out.
In the initial models that were deployed the hook is accessible from he side as shown below.
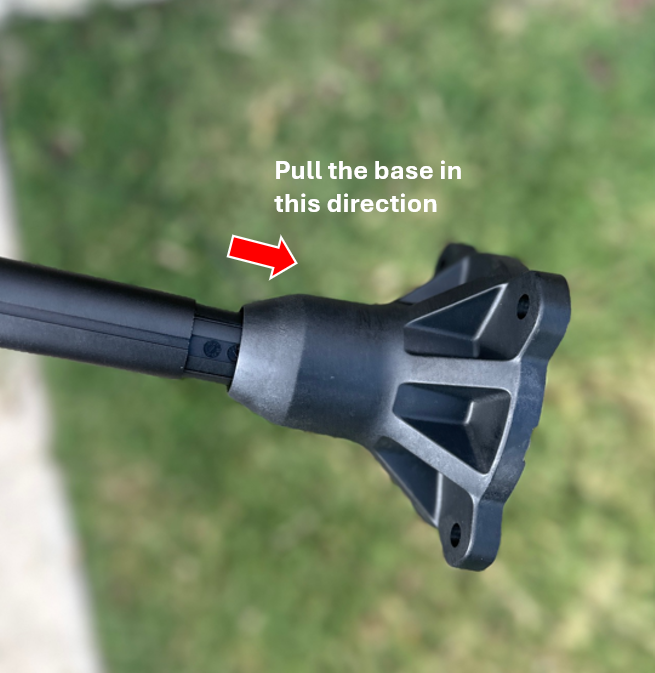
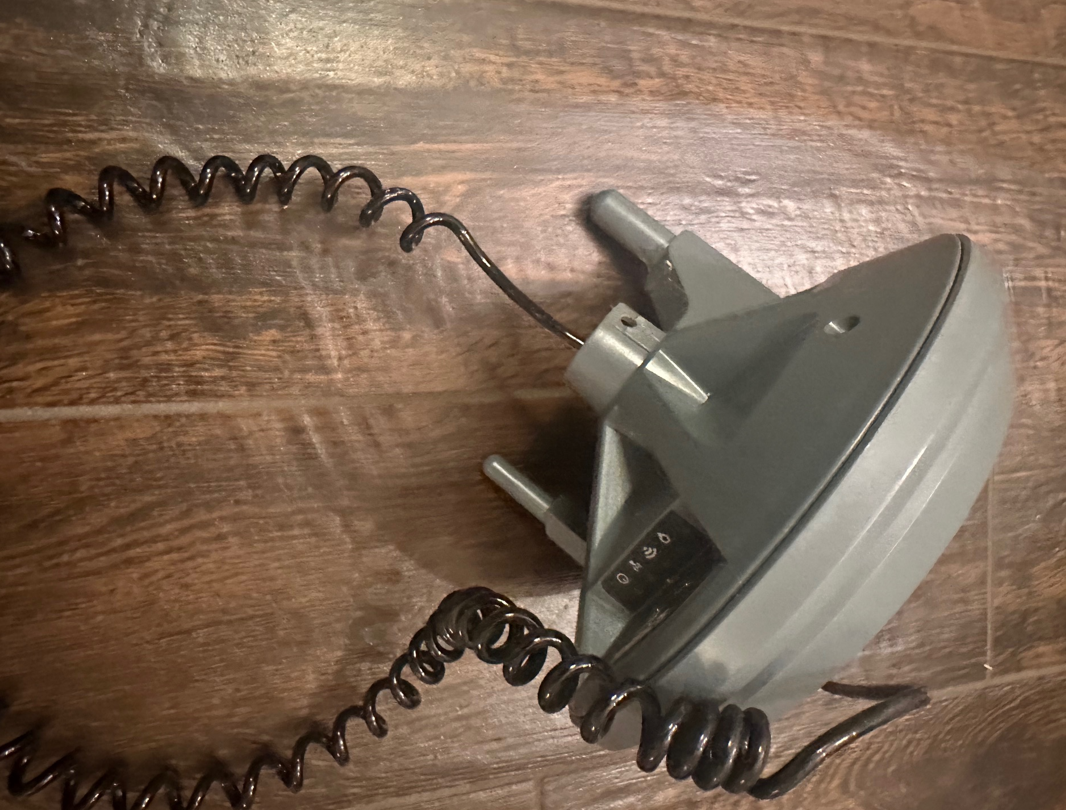
In the newer models you also need to remove the lower base by pulling it out and then within the base, there is the hook that may need to be snapped using a screw driver or nose pliers to free the wire. This is shown in images below.
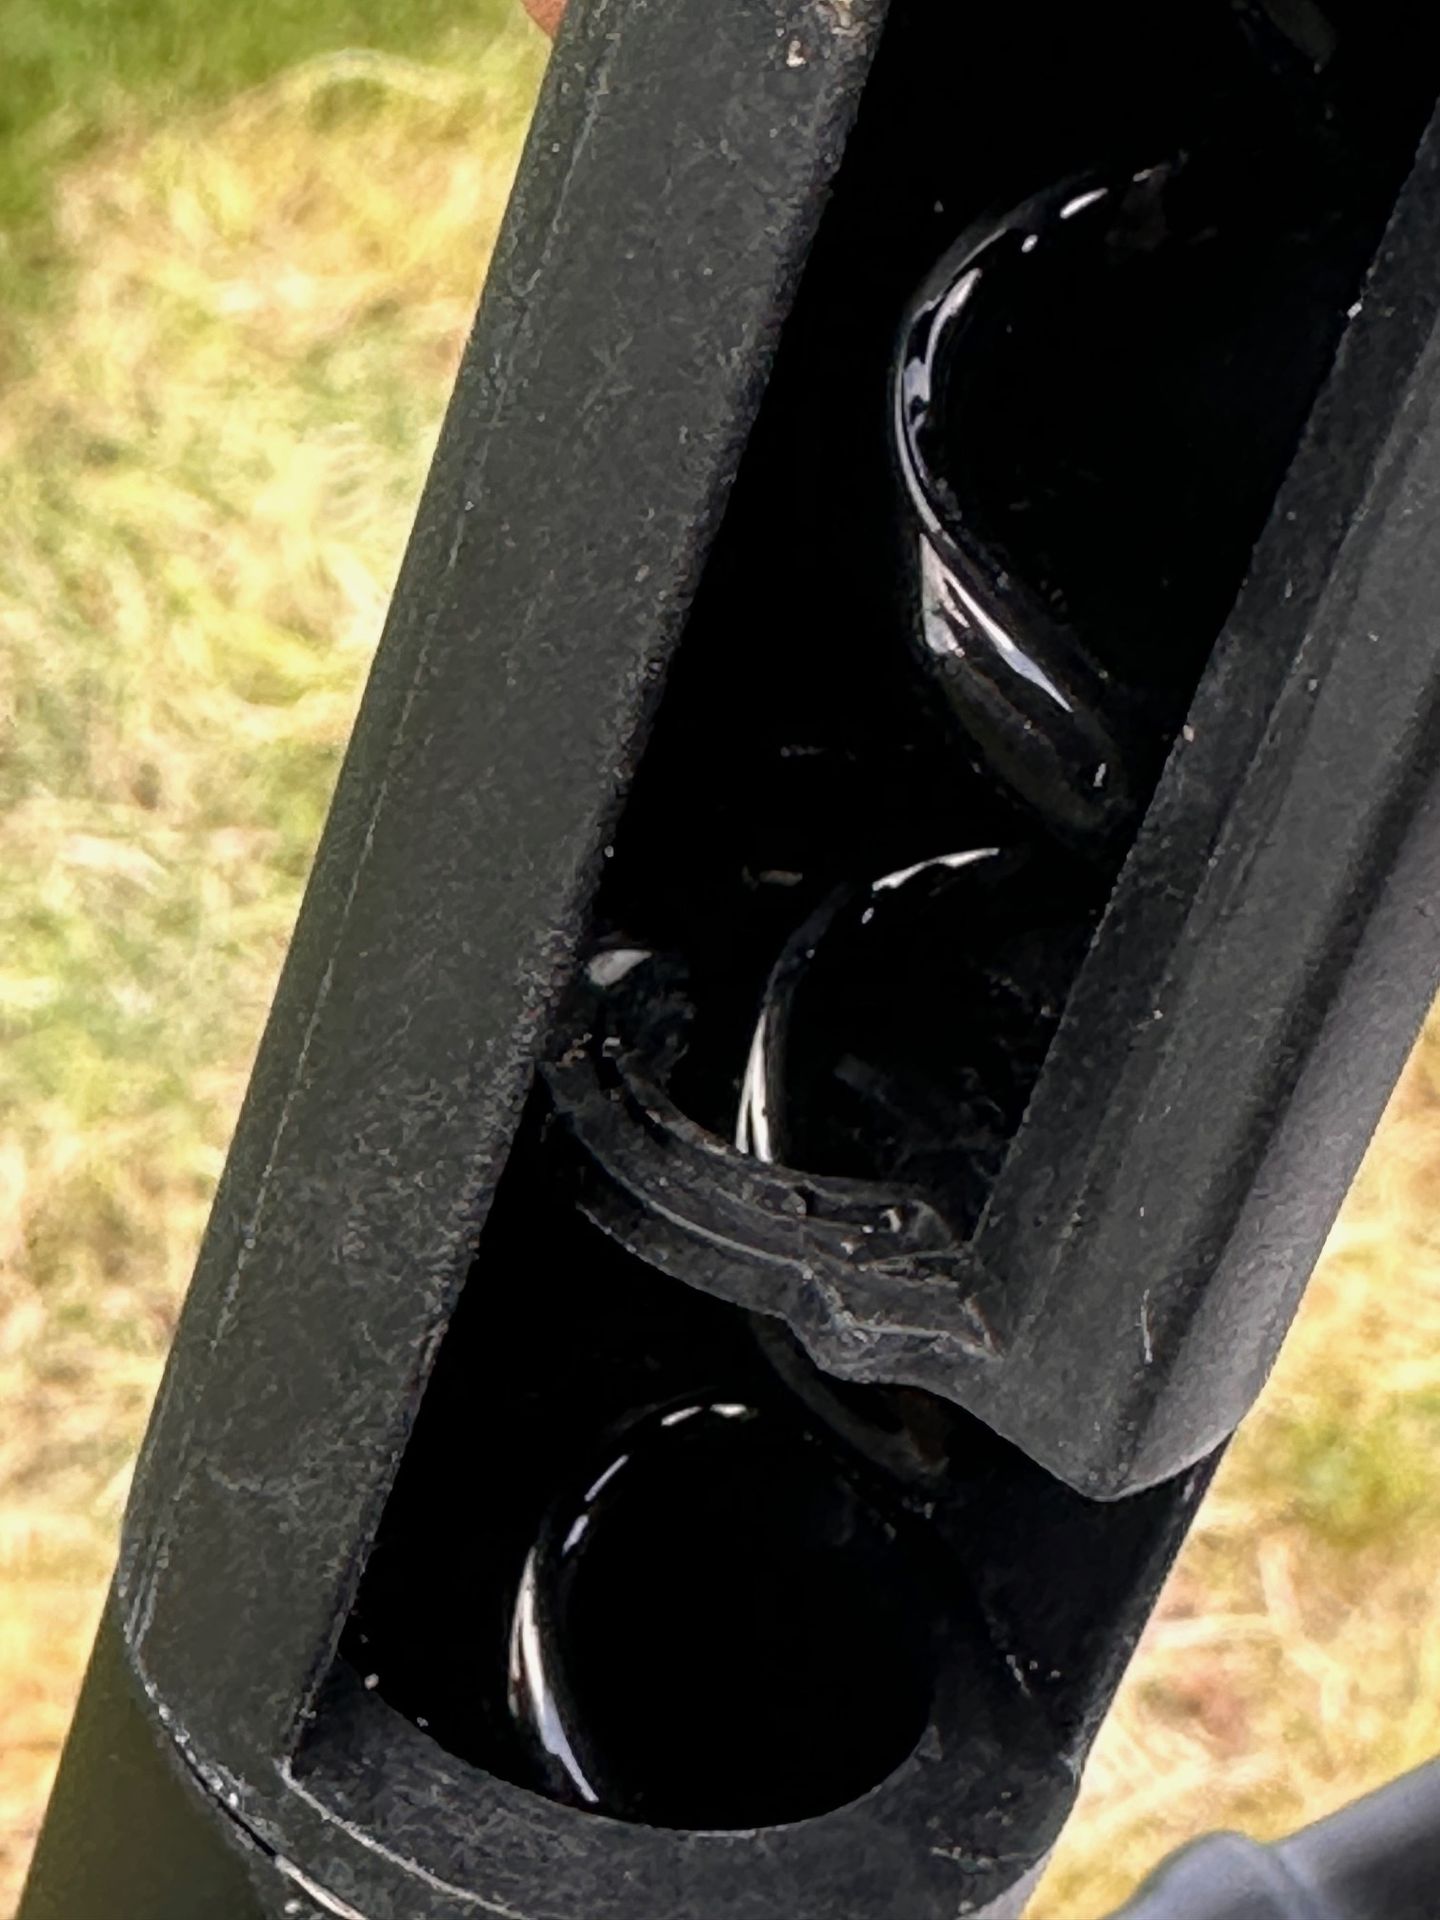
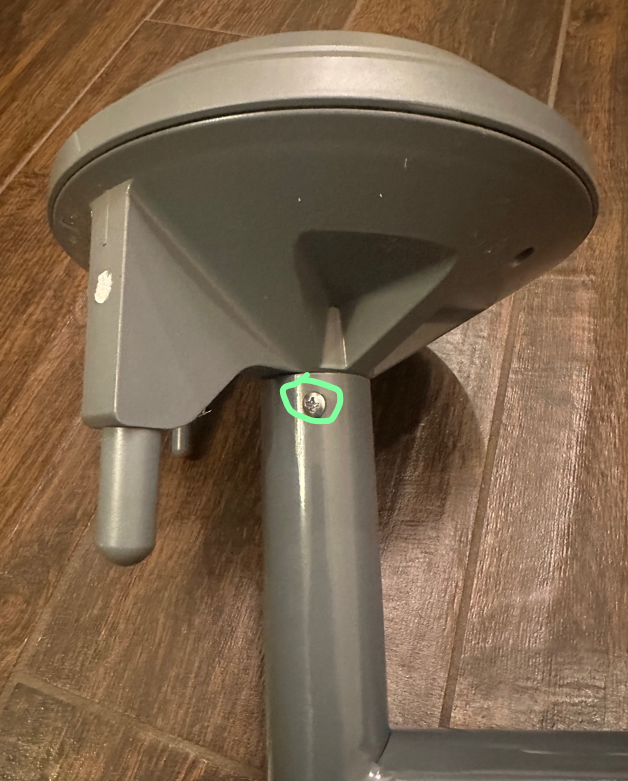
Once the base is pulled apart, unscrew the screw under the base that holds the wire and the hook inside the base will need to be release to free up the wire. See images below,
 Step 3: One the wire is released from the hook, it should be easy to pull it out of the pole, as shown below.
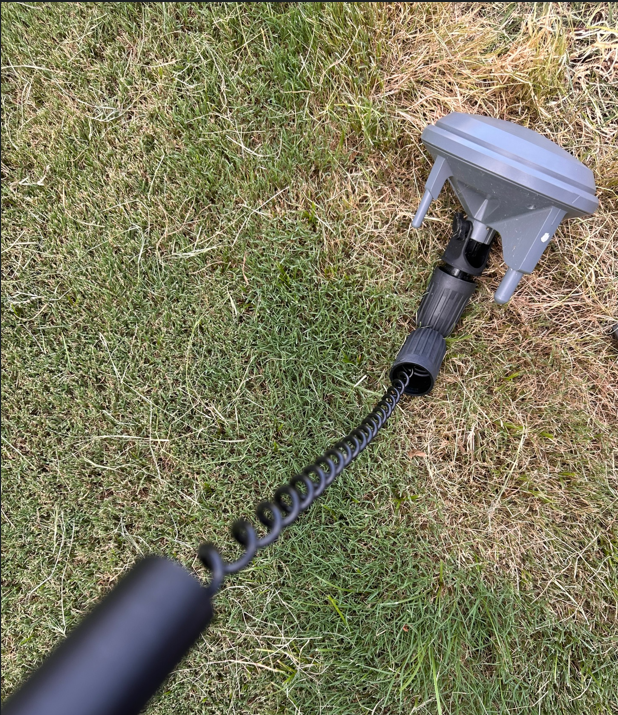
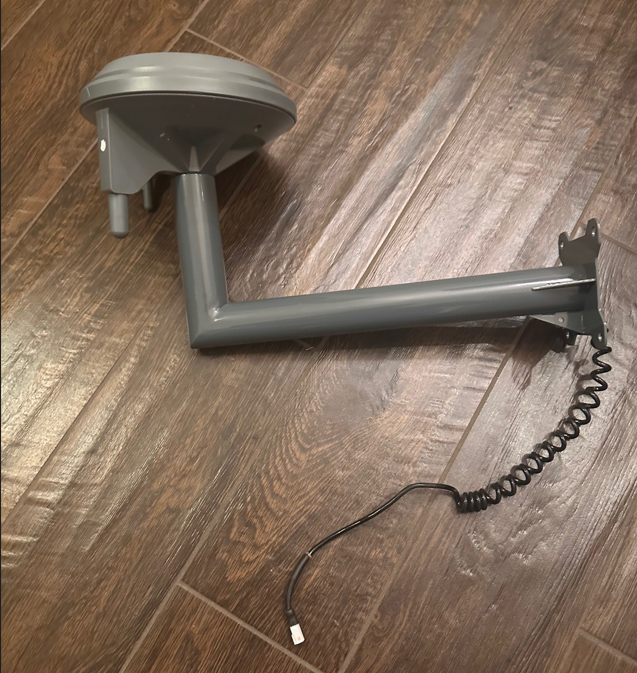
Step 4: Finally remove the pivoting mount right under the antenna by unscrewing the pin holding it fully . This should leave you with the antenna connected to the wire as shown below,
Step 5: If you have a mount that allows to fish the wire through the mount, then use a flexible cable, fishing cable or any other wire, to fish the spiral wire of the antenna through the mount carefully. The spiral nature of the antenna can make this a challenge, but if you use the right tools, then it should be fairly easy. Once the cable is fished through the mount, it will look like shown below,
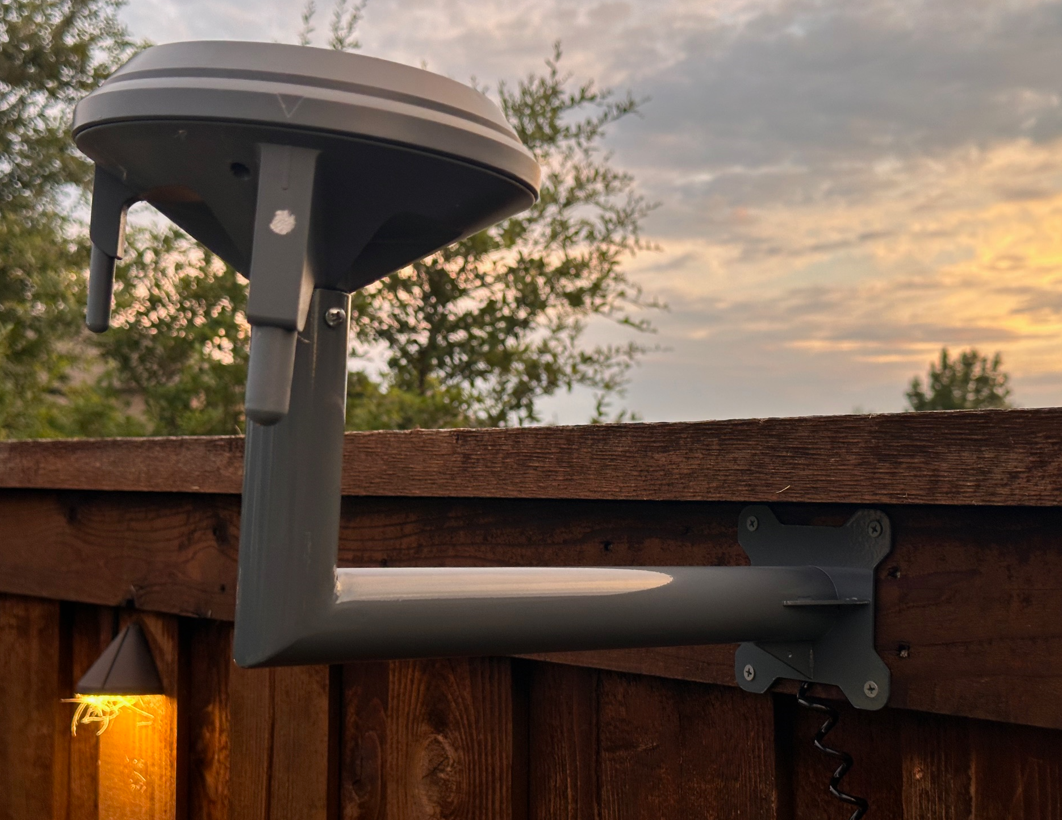
Step 6: Finally, it is important to secure the antenna to the pole. The easiest way to do this is to use self drilling metal screws that can be drilled through the metal mount, into the plastic rim of the antenna that sits inside the mount. Use at least 2 screws from two sides to secure the antenna as shown below. When purchased from SmartDots, these screws are included as part of the mounting kit.
Step 7: Finally, install the mount on the siding of the roof or at a location where the antenna will get maximum visibility to the sky in all directions. A completed installation is shown below,